
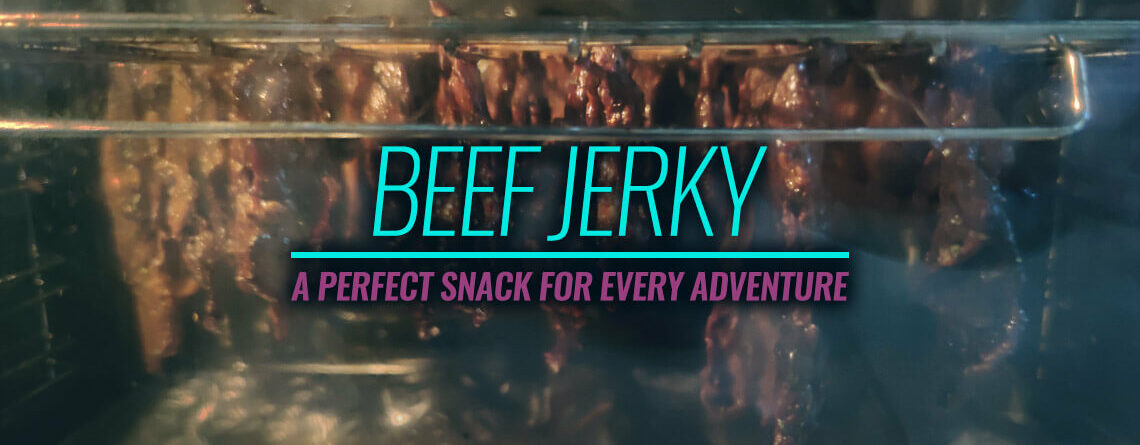
Beef jerky – a perfect snack for every adventure
Today we have prepared for you something completely different from what you are used to reading on our blog – an article about beef jerky, also known as pemmican.
Ever since Sasq playing Master Aaron on Witcher School for the first time brought with him beef that he prepared by himself, I fell in love with that snack. It has been some time since I decided to try drying meet myself. I have to humbly admit that with every next drying I got better in it, and the third batch was already something I could give my friends to taste. Many of them asked me for a recipe, but I never found time to write down my experiences before. In this article, I would like to share with you my thoughts on the topic of drying beef.
Step 1: What kind of meat should you choose?
The most important thing is to choose the proper meat. I personally have this comfort that my neighbour has his own cows, thanks to which we receive proven meat with specific taste qualities, which surely has an impact on the final test – you have to find your own proven source.
Equally important is to choose that part of a beef carcass on which there is as little as possible of white veins and fat – I know from experience that such a part is, for example, silverside. The more fat there is on meat, the longer will the drying process take, and the white veins tend to remain even after drying and they are not tasty.
Step 2: Cutting the meat
There are 3 ways of cutting beef.
- Along the fibre – such a method will make the beef more ‘stretchy’
- Across the fibre – which will make our beef even more tender.
- Diagonally through the fibre – an option I haven’t tried yet, but it’s supposed to combine the above two.
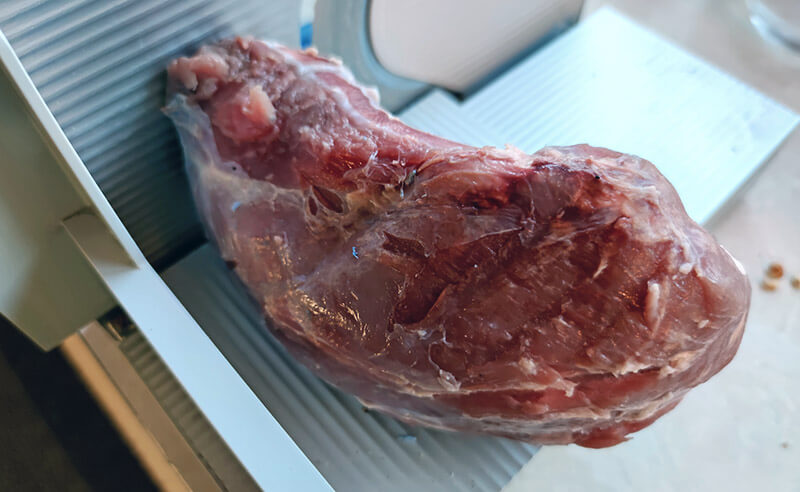
How to cut beef? Option 1 – simply with a knife. The second option is much more comfortable – with a slicer. I don’t have a slicer at home, so I always cut meat at my parents’ house – thanks to a slicer I’m able to cut it into much thinner slices that are the same in thickness – and thanks to that the whole batch of meat dries almost at the same moment.
To make meat cutting easier, it’s best to put it into a freezer beforehand (or, in my case, take it out about two hours before we start cutting). It’s much easier to cut frozen meat into thin slices – no matter if we use a knife or a slicer.
If we are able to cut out the remains of the white (fat or veins) now it is a good moment to do it.

Step 3: Choosing proper seasoning
Every one of us has different taste preferences and that’s why everyone should find their own favourite taste of beef jerky. I made my first batch according to Sasq’s advice – they were helpful, but I didn’t know the exact amounts of additives, and that’s why to me that first batch was really over-seasoned.
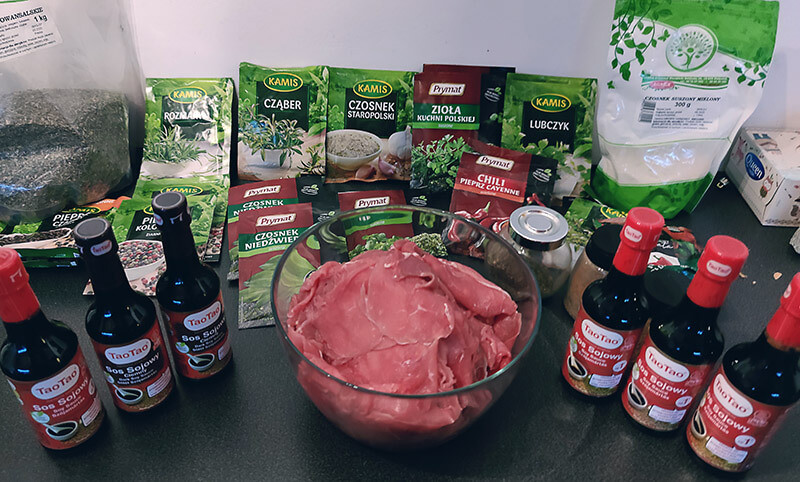
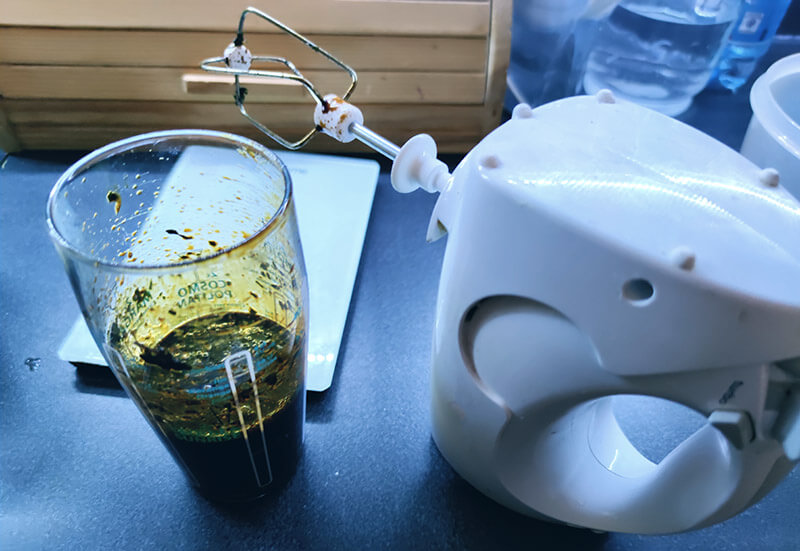
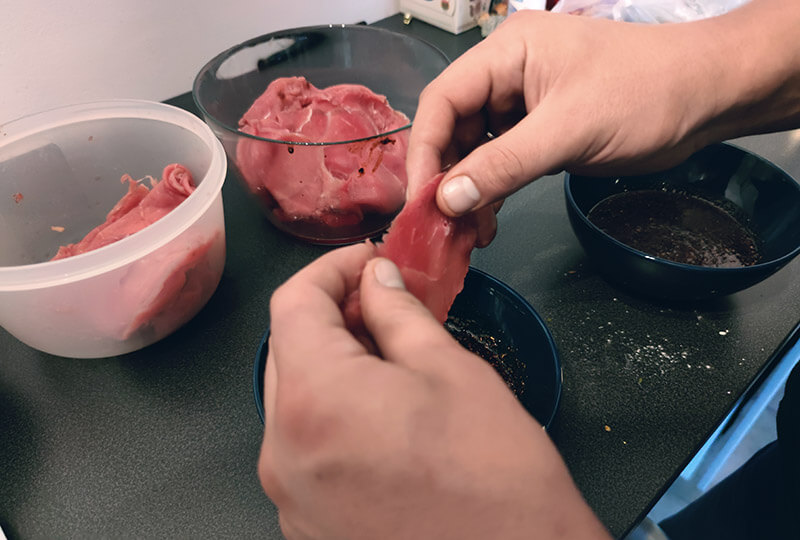
Every marinade needs a basis, which is made of soy sauce. It’s also a substitute for salt so never use it (unless you like really salty meat). Next we add chosen additives and mix everything (I use a mixer). We pour the ready marinade into a bowl and put meat in it (preferably not all of it, but slice after slice, to make sure that the bits don’t stick to each other which could cause the marinade to remain only on one side). We put such prepared meat into a fridge for the night (several hours).
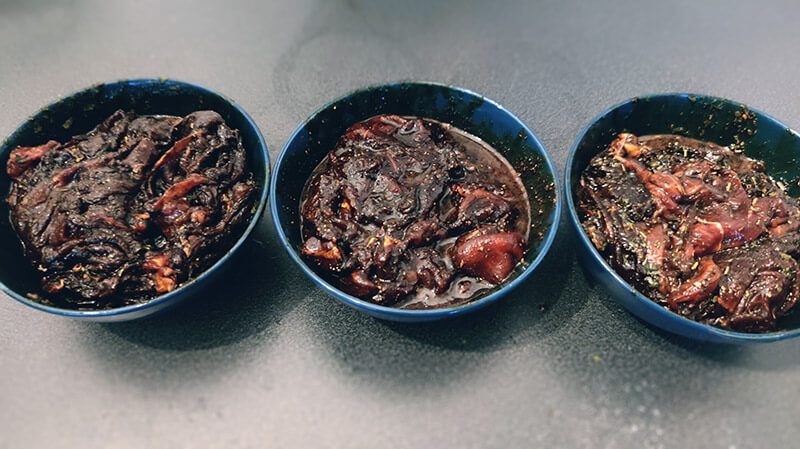
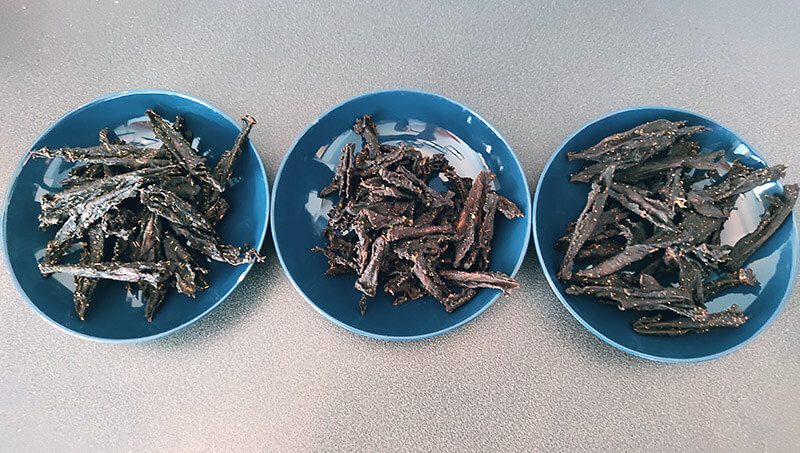
Below I give you 4 recipes I created with my wife Ania during the trials and errors. The base for all of them is:
- 500 grams of meat
- 130 ml of dark soy sauce
Neutral Beef Jerky (which we call the classic)
- 3 teaspoons of wild garlic,
- 1 teaspoon of powdered garlic,
- ¾ teaspoon of pepper,
- ¾ teaspoon of lemon pepper,
- 4 spoons of honey.
Spicy Beef Jerky
- 3 teaspoons of powdered garlic,
- 2 teaspoons of wild garlic,
- 2 teaspoons of chilli cayenne pepper,
- 1½ teaspoon of tomato with chilli and oregano,
- 1½ teaspoon of pepper,
- ¾ teaspoon of lemon pepper,
- 6 spoons of honey.
Paprika Beef Jerky
- 3 teaspoons of sweet paprika,
- 3 teaspoons of wild garlic,
- 3 teaspoons of powdered garlic,
- 2 teaspoons of savory spice,
- 1,5 teaspoon of pepper,
- 1,5 teaspoon of ginger,
- ¾ teaspoon of tomato with chilli and oregano,
- ¼ teaspoon of chilli cayenne pepper,
- 5 spoons of honey.
Herbal
- 3 teaspoons of Polish cuisine herbs,
- 3 teaspoons of wild garlic,
- 2 teaspoons of powdered garlic,
- 2 teaspoons of savory spice,
- 2 teaspoons of pepper,
- 1 teaspoons of rosemary,
- 1 teaspoon of Provence herbs,
- 4 spoons of honey.
Step 4: Drying
The goal of the drying process is to evaporate water and fat out of beef, and it can be done in a few ways – from putting the meat in the sun as the Native Americans did, to using a special drier, a tiled stove or, finally, in an oven. I chose the last option (drying in an oven) and I will describe it here.
Before we start the drying process, we have to:
- Secure the oven in order to avoid unnecessary dirt. I tried two methods. First, using a baking sheet (which got blown away by the convection and the oven got covered with the dripping marinade). The second method was to use the plate, wrap it up in aluminium foil and put it on the bottom of the oven.
- Prepare skewer sticks and the oven’s grille.
- Prepare two containers on which we will place the grille and the baking sheet/foil in order to avoid unnecessary cleaning of the table on which we work.
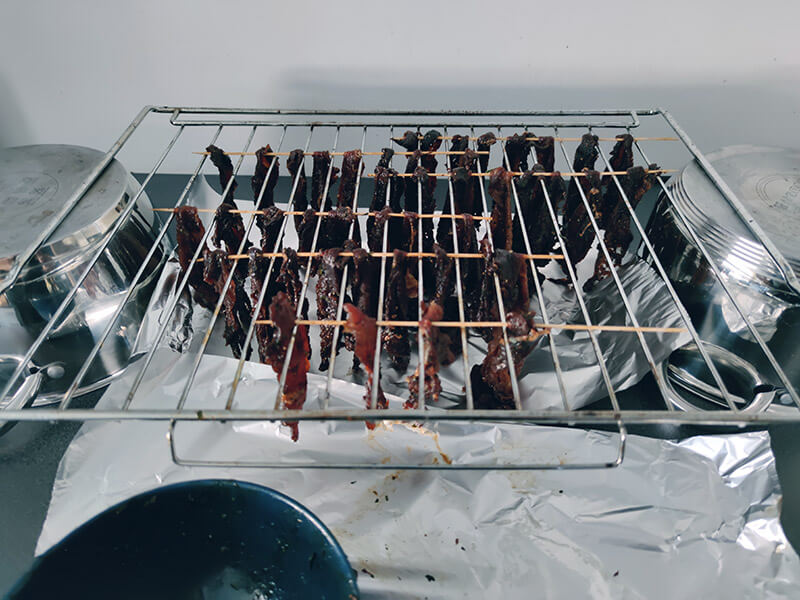
We put the meat on skewer sticks in such a way that it can go through the grille. Next, we put the meat for a few minutes into the oven that was heated to 100 degrees – just to make sure that we kill any potential germs. I’ve heard that you don’t have to do it since the drying process should also take care of it, but it surely won’t hurt.
After a few minutes, we gently open the oven door and turn the temperature to almost 70 degrees. According to some you can dry even in 40 degrees, but it makes the process considerably longer and I believe it’s not very important. Depending on the thickness of the slices, the meat dries up in a few or more hours, so it’s important to check up on it from time to time to make sure when it’s ready.
When will we know it’s ready? Well, you have to judge yourself. If you’re not certain, you can take out a few of the skewer sticks and leave the rest in the oven; after half an hour / an hour check what’s the difference.

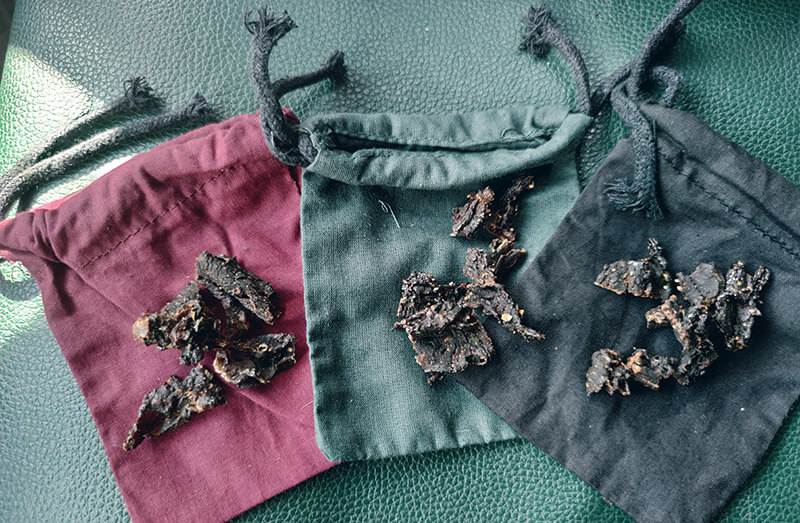
Step 5: Consumption
We take out the dried beef and put it into jars/pouches or other containers. Thanks to the drying process, beef can last for very long and it’s not required to keep it in a fridge. If we need it for a specific trip – it’s best to pack it up and hide away, unless you’re not afraid of eating quite a lot of it before you even leave home. 😊
It’s also worthy of note, that every kilogram of fresh meat turns into much less during the drying process – weight-wise, but not energy-wise.
I hope that you like our today’s entry and get you into the beef drying fun – if so, don’t hesitate to share some when we meet!
Dastin Wawrzyniak
Leave a Reply